2. Allow the kiln to dry for at least three days before plastering the outside.
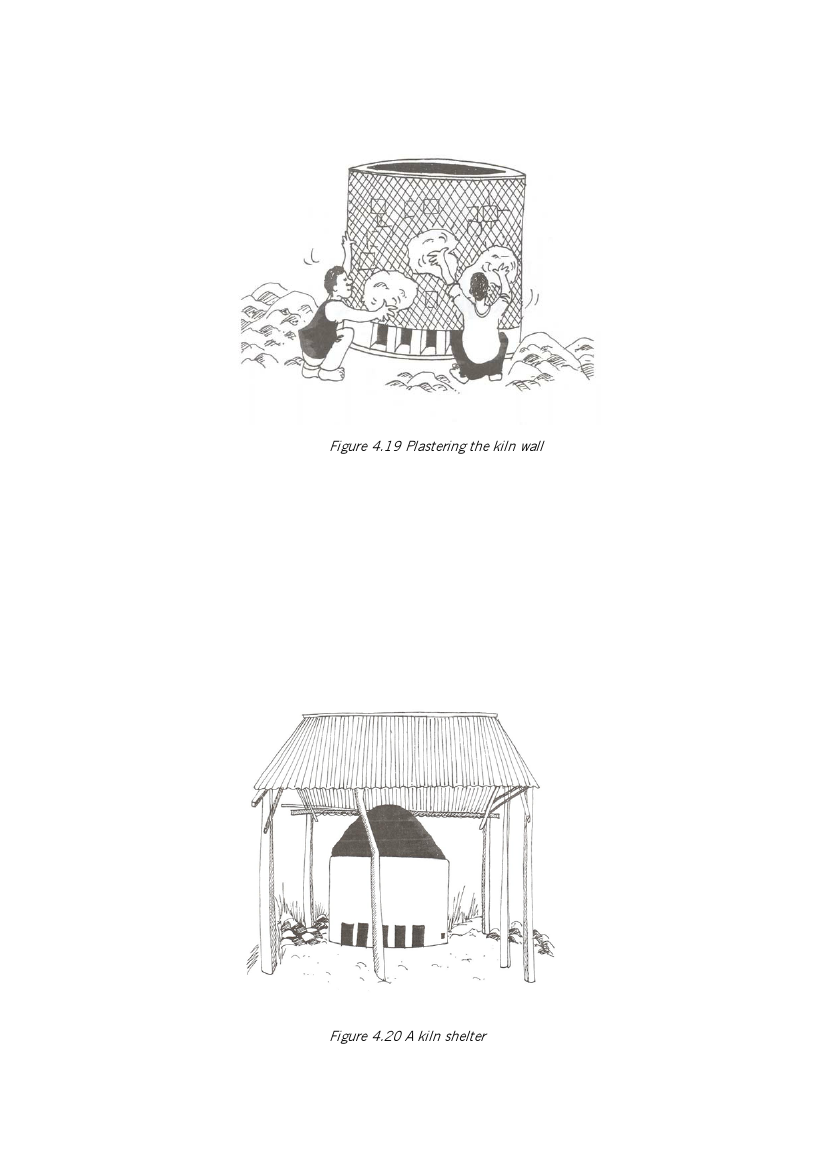
Figure 4.19 Plastering the kiln wall
3. To make a good plaster, either mix equal quantities of sand and good quality clay, or use the best
local mixture for plastering houses. Apply a thin layer of the mixture (less than 1 cm thick) by hand to
the outside of the kiln wall. Finally, plaster the top of the last layer of wall bricks.
4. If the bricks that you have used to build the kiln are of poor quality, you should plaster the inside of
the kiln to protect it from the fire. Plaster used on the inside must be heat resistant. A good mixture
is equal quantities of grog (a powder of ground fired pottery), ash and good quality clay.
5. The construction of the kiln is now complete. Allow it to dry for at least 28 days. Complete the drying
process by lighting small fires in the kiln.
6. The kiln can be protected from the effects of the weather by a simple shelter.
Figure 4.20 A kiln shelter
17